How to Roll a Cross Joint
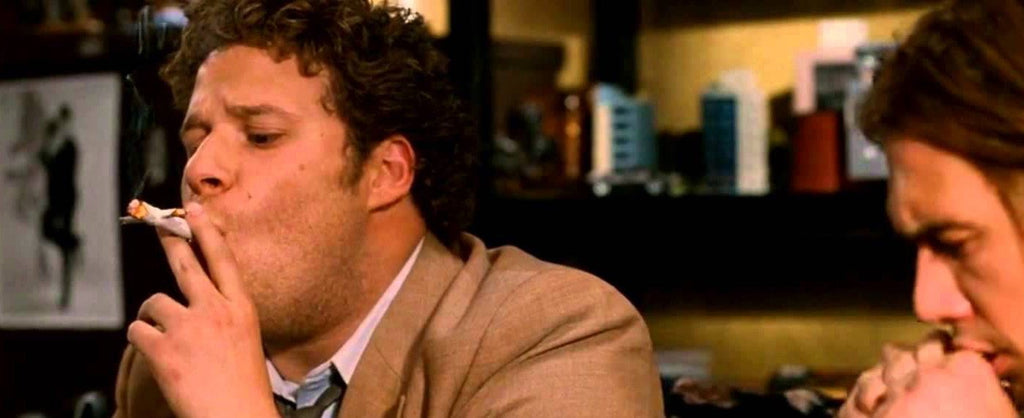
We've all seen the hit 2008 film, Pineapple Express. It starts out with Seth Rogan going to visit James Franco. Rogan is clearly trying to get out of this situation as quickly as possible, yet somehow gets stuck helping Franco light this crazy rolled creation. The cross joint. By the end of the movie, we have two best friends. So, with a little happy chance and contrivance, let's make some new friends!
What you will need:
- Two pre rolled joints (preferable one king size and one regular size)
- An extra rolling paper, unrolled
- Scissors
- A tooth pick or paper clip
- Three lighters
- At least one extra person, preferably two extra people
Pro Tips:
- RAW rolling papers are preferred because of the water mark throughout that encourages a more even burn.
- You may want to leave the end to be lit of the king joint open until complete to allow for further packing. When done, leave open or twist closed.
Step One:
So again, start with your two joints pre rolled nice and snug. Try to get them similar as far as how dense they feel. This helps with the even burn. If you are using a paper clip, stretch it out so that it is straight, at least on one side. Starting with your liking joint first, poke a medium hole in both sides about 1/3 of the way down from the end. Now with the second joint, poke a small hole on both sides about half way down. This will allow the smoke to escape from the small joint.
Step Two:
Now comes the part for some tedious, careful work. You will take the small joint and very carefully begin working it into the hole of the king joint. It does not matter which side you start with. It may also help to first stretch out the holes a bit with the toothpick or paper clip and poke through to the other side. I find that it helps if you twist the smaller joint while working it into the other. The twist works the joint in, rather than shoving it through, which would lead to losing more of the loose tobacco from the large joint. Once the small joint holes seem to be in the middle of the large joint holes, it is time to seal the two completely into one!
Step Three:
So now the extra rolling paper comes in handy. With scissors, cut just the glue strip from the rest of the paper. This may seem pretty wasteful, considering you will only be using this small strip, but it is a must! Dampen the glue strip and start on one side of where the joints connect toward the bottom. Work in an X like motion, crossing over the large joint and back under the small joint then back over the large. And do this until they are sealed together.
Step Four: Enjoy the fruits of your labor!
Finally, the time has come to bring your friends together to light this thing! You light this, ultimately, like any other joint, only with three lighters. Make sure this is timed right to ensure that all three ends are burning at about the same rate. If you do however, notice that one end is burning more rapidly than another, dampen that end by the lit cherry and it should slow things down a bit.
Good luck, and be careful. The cross joint is no joke!
After you have mastered the cross joint roll, I think it would be time to brave even more creative rolling techniques such as the double cross joint. This is essentially the same technique, except you would be adding a second regular sized joint. I also recommend the diamond joint technique which is certainly out of this world as far as attempting.
- Tags: How-To Just for Fun Roll Your Own
- Kendra Stout
Comments 0